아나콘다는 설치가 되어 있다는 가정하에 시작
순서는 NVIDIA -> CUDA -> cudnn -> 환경변수 설정 -> 파이토치 설치
딥러닝 환경에서 작업을 하다보면 갑자기 CUDA를 변경해야 하는 상황이 생겨서 따로 정리해보려 함.
1. NVIDIA 설정
- 기존에 설치가 되어 있다면, 삭제하고 진행
1) 제어판 - 프로그램 추가/제거 - NVIDIA가 들어가있는 모든걸 삭제
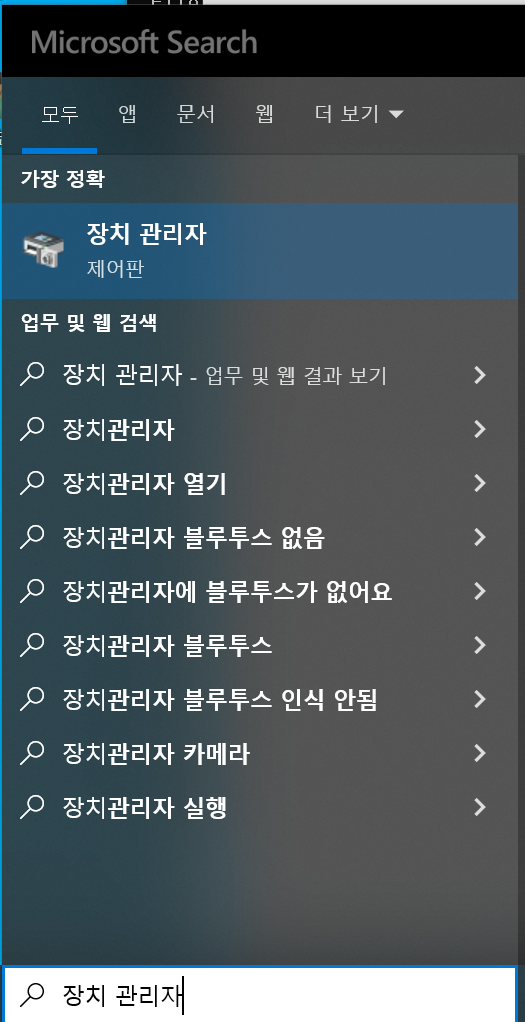
2) 그래픽 드라이버 다운로드 - 자신에게 맞는 드라이버 확인(하단 장치관리자 참고)
https://www.nvidia.co.kr/Download/index.aspx?lang=kr
3) 장치관리자 그래픽카드 삭제

4) 재부팅 후 기존에 다운받은 그래픽카드 실행
- 모두 "예" 하여 설치(중간에 Experience 설치는 자유, 저는 안했어요)
5) cmd에서 nvidia-smi 로 확인

2. CUDA 설치
https://developer.nvidia.com/cuda-toolkit-archive
CUDA Toolkit Archive
Previous releases of the CUDA Toolkit, GPU Computing SDK, documentation and developer drivers can be found using the links below. Please select the release you want from the list below, and be sure to check www.nvidia.com/drivers for more recent production
developer.nvidia.com
1) 버전확인
https://docs.nvidia.com/cuda/cuda-toolkit-release-notes/index.html
Release Notes :: CUDA Toolkit Documentation
Beginning in 2022, the NVIDIA Math Libraries official hardware support will follow an N-2 policy, where N is an x100 series GPU.
docs.nvidia.com
--> NVIDIA와 CUDA 버전 확인 (NVIDIA-SMI에 나와있는 버전으로 확인 가능)
--> 파이토치 공식 홈페이지에 나와있는 버전 확인
https://pytorch.org/get-started/locally/
PyTorch
An open source machine learning framework that accelerates the path from research prototyping to production deployment.
pytorch.org
2) 설치
https://developer.nvidia.com/cuda-toolkit-archive
CUDA Toolkit Archive
Previous releases of the CUDA Toolkit, GPU Computing SDK, documentation and developer drivers can be found using the links below. Please select the release you want from the list below, and be sure to check www.nvidia.com/drivers for more recent production
developer.nvidia.com
- 자신에 맞는 CUDA 버전 설치 후 실행
2-1). 설치 프로그램 실행
- 저는 사용자 설치(고급)으로 sample doc 빼고 cuda만 설치했어요(필요없어서)
3. cudnn 설치
https://developer.nvidia.com/rdp/cudnn-archive
cuDNN Archive
Download releases from the GPU-accelerated primitive library for deep neural networks.
developer.nvidia.com
1) 다운받으시려면 회원가입 필수
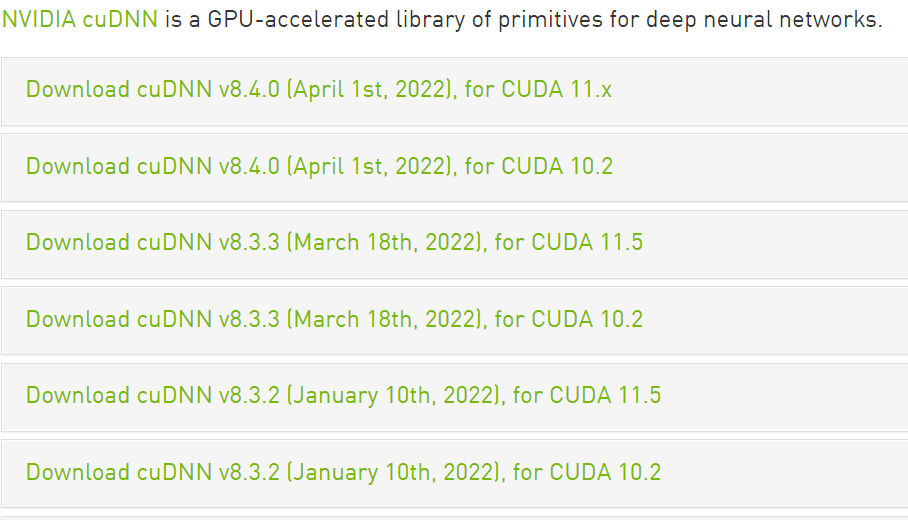
2) cuDNN Archive (하단에 있어요) 클릭하면 전체 버전이 나와요
3) cudnn 우측에 보면 ~~~ for CUDA 11.X 이런식으로 있는데 다운받은 CUDA 버전에 맞게 설치하시면 됩니다~
4) 설치받은 압축파일을 폴더로 압축 해제 후 들어가세요

이런식으로 있어요(파일마다 다르지만, [bin, include, lib]는 동일하게 있을겁니다)
1) [bin, include, lib] 이 세개의 폴더를 복사한다음
2) 설치한 CUDA 폴더에 넣어주면 됩니다!
경로 : 내pc 들어가서 로컬 디스크(C:) -> Program Files -> NVIDIA GPU Computing Toolkit -> CUDA -> (다운받은 버전) ex) v11.7 안에 들어가서 붙여넣어주시면 돼요
4. 환경변수 편집
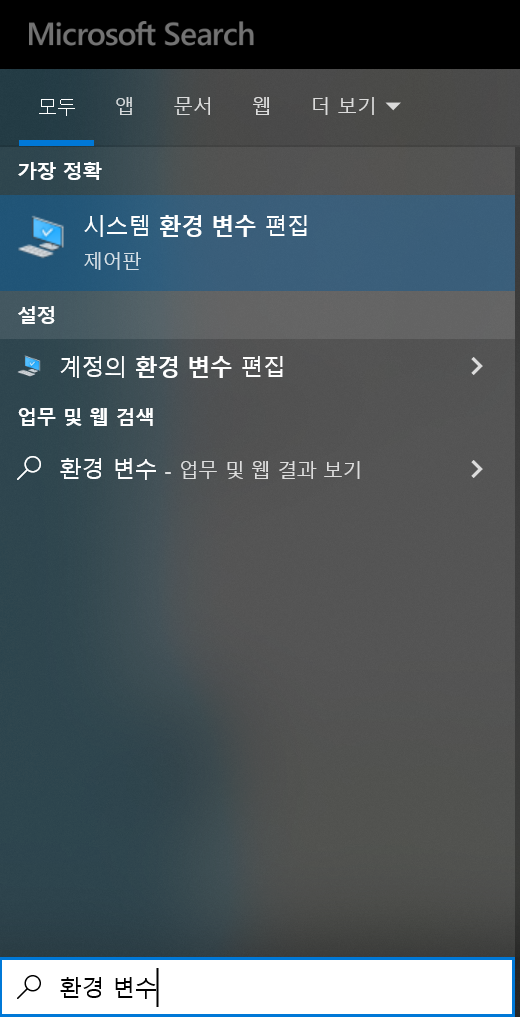

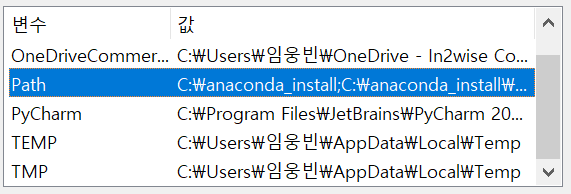
1) 위의 순서대로 들어간다음 Path 더블클릭

2) 추가 누른 후 세개의 경로를 넣어주고 확인 확인 하면 됩니다!
5. 파이토치 설치
https://pytorch.org/get-started/locally/
PyTorch
An open source machine learning framework that accelerates the path from research prototyping to production deployment.
pytorch.org
1) 파이토치 공식 홈페이지 들어가서 참고하시면 돼요
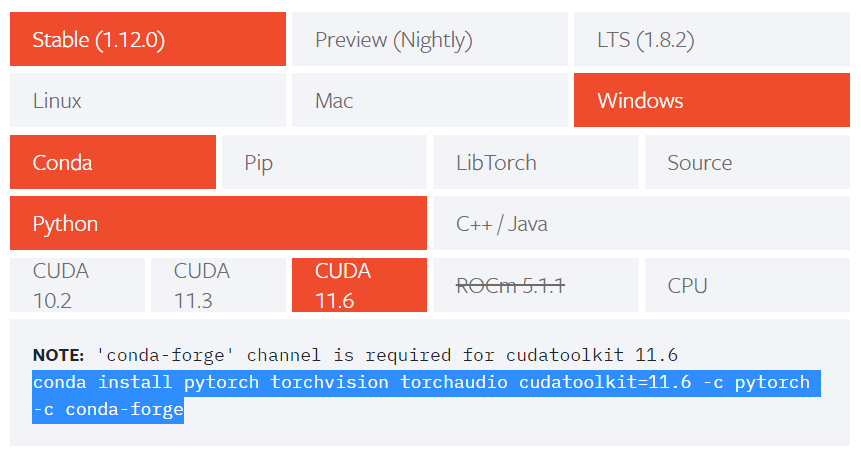
1) 블럭된 conda ~~ -forge 까지 복사한다음 사용하시는 conda 환경에 붙여넣어서 설치하시면 끝납니다!
* 설치 완료 확인방법
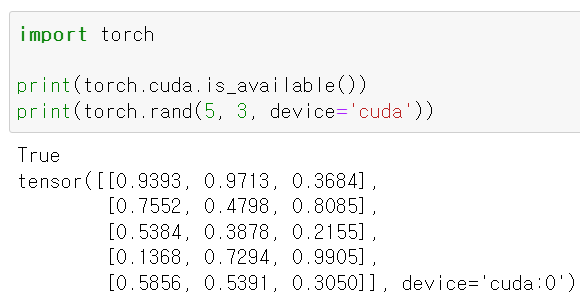
위의 화면과 같이 True 와 알맞게 변수가 생성된 후 뒤에 device='cuda'가 나타나면 됩니다!
이상으로 포스팅 마치고, 부족한점이 있을 수 있으니 조언 주시면 수정하겠습니다,. 감사합니다~
'programming > AI' 카테고리의 다른 글
| (windows)윈도우 아나콘다 설치 (0) | 2023.01.27 |
|---|---|
| (Ubuntu)Ubuntu 20.04에 Anaconda 설치 (0) | 2022.11.23 |
| (딥러닝)CUDA out of memory 해결방법 (0) | 2022.11.10 |